How to Stain a Wood Fence
Don't miss this step-by-step guide for fence staining! Learn how to freshen up your wood fence with a new coat of stain. Guide includes supply list, tips and more!
Staining your wood fence can increase the curb appeal of your home by bringing out the natural beauty of the wood in your fence! Since your wooden fence lives outdoors, the elements can take their toll on the coloring and leave it looking drab and old. A wood stain serves as protectant on wood surfaces and can also help extend the life of your fence. Staining your fence prevents rotting, as well as preventing splintering and insects from damaging your fence. A good stain on a wooden fence will penetrate the wood, protect it from UV rays and help to keep it looking brand new while showing off the wood’s features like color and grain effects!

Selecting the perfect stain for your fence first requires you to consider the wood fence type. You will need to know whether the stain is going to penetrate the wood, as some types of wood need to dry out before they will take a stain. These include cedar, redwood, and pressure treated wood. Another thing to keep in mind is that the same stain could look different on different lumber types and different types of wood fence styles.

When you are ready to choose your stain color, be sure to check the colors based on the type of wood that you fence is made out of - because that will determine how the color looks in the end. Stains have different levels of transparency, so if you want to keep a natural look to your wood choose a higher level of transparency. If you are looking for more color, choose a lower level of transparency. There are many stain colors to choose from. Choose a color that looks good next to the color of your home!
There are many types of fence stains that are available to choose from - from oil-based and gel to varnish and water-based. Choosing your preferred stain type is completely up to you and depends on what you want the fence to look like in the end. The type of stain you choose can also impact the level of protection it offers for your wood fence. There are oil-based stains, water-based stains, gel stains, as well as stains that come in a range of transparencies. Each type of stain has different levels of ease for applying, and pros and cons depending on what your goal is with staining your fence.

Oil-based stains are the most popular type of stain for most homeowners. Many people choose oil-based stains because they offer the most durability and penetrate deeply into the wood. An oil-based stain does take longer to dry than other types of stains.

For the environmentally friendly homeowners out there, water-based stains are a great choice. They contain less potential pollutants but also do not penetrate the wood as deeply as an oil-based stain. And unlike oil-based stains, a water-based stain dries very quickly.

If you are looking for a stain that you will not have to worry about uneven staining or the stain leaking through cracks in the fence, then a gel stain is a good option for you. While this makes applying the stain a little less stressful, a gel stain does not penetrate the wood like an oil-based stain and also takes a long time to dry.

A solid color stain is the type of stain that is closest to actually painting your fence. This kind of wood stain will help hide any imperfections in your fence and create an even look across the fence panels. Solid stains are great for older fences with very worn wood.
Stain that is semi transparent is a great choice for a wood fence that has a few years under its belt but still has great texture and grain that you want to show off. A semi transparent stain will add just a little bit of color while allowing the texture and grain of the wood to stand out.
Before you get started on your fence staining project, be sure to check the weather forecast first. The optimal conditions to stain a fence are a comfortable temperature between 50 and 90 degrees Fahrenheit with moderate to low humidity. And most importantly, the weather forecast does not predict any rain. It is also important that your wood is completely dry before you stain.
Once you have the weather forecast showing good conditions for you to get started, you will need to clear the landscape of any loose vegetation, plans, and tree limbs that are in contact with the fence. Also clear the area near the fence of any furniture or other items. If you cannot move large items, cover them with a drop cloth to prevent any stains from drips during your staining process.

Check out each board in your fence for anything that needs repairing. This could include loose nails or screws, warped wood, cupping, splintering or cracking. Either fill holes with wood filler or replace the board if it is too far gone to be repaired. If there is already paint on the fence, you will need to scrape away any peeling paint.
Another preliminary step before you get started with the actual staining of your fence is to clean your fence well first. Wash your fence with a stiff-bristle brush along with some soapy water and a little bleach or other type of fence or deck cleaner you prefer. Rinse with a pressure washer or a high-pressure garden hose.

Once your fence has dried from being thoroughly cleaned, the next step to get your fence ready for its stain is to sand the fence. This step is done to ensure that the stain will adhere correctly to your wood fence. You will need to lightly sand the surface of your wooden fence until it is smooth.
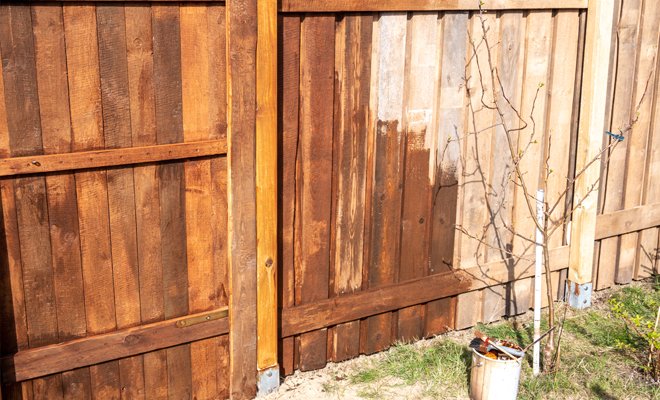
When you are trying out a new stain, first buy a small amount of it and stain a small part of your wood fence to make sure you like how it looks. This can be especially important if you have a fence with different types or ages of wood. Seeing the stain on both before you commit to staining the entire fence is crucial to avoid disappointment and wasting time.

To add stain to your sprayer, open up the stain sprayer and pour in your chosen wood stain or mix. Turn and seal the lid to create an air seal which allows the vacuum to build up once you start pumping the handle to build up the pressure. Once that pressure is built up all you need to do is point and press the trigger.
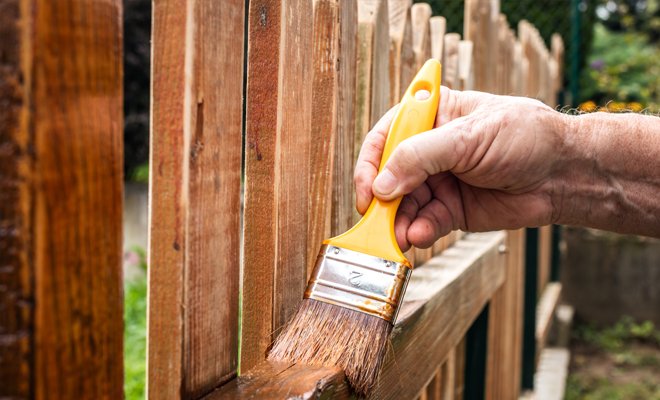
After all your prep work is done, you are ready to begin on your fence staining home improvement project. Set the nozzle to vertical. Apply an even coat spraying up and down your fence boards in a vertical fashion. Remember keep the sprayer within 6-8 inches of the wood, and try not to apply too heavy of a coat or else it will drip.

Once you have finished staining your wood fence, it is time to allow it to dry and cure. Refer to the instructions on the stain that you purchased for recommended drying and curing times. You definitely want to make sure there is no rain in the forecast for at least two days after staining your fence.
Staining your wooden fence highlights the natural color and texture of your wood. Stains are generally selected to help highlight the grain and color of the wood it is applied to. There are also different colors of wood stains from clear stains that will simply enhance the natural wood or colored stains that will give a different hue to the fence than its natural color.
An important thing to understand about wood stains is that they will not provide long term protection against water or general wear and tear like scratches. Stains are really difficult to remove because of the fact that they penetrate the wood unlike paint which sits on top of the wood.
This decision will most likely depend on the amount of time you have to work on this home improvement project. Spraying on your stain will be quicker but requires special equipment and risks getting stain on things near your fence. Rollers will give you a thicker coat so the stain will last longer and minimize getting stain on plants or surrounding areas.
To prepare a wood fence for staining, you will need to wash it with a solution of soapy water and bleach and then use a pressure washer to clean that off. Next, you will need to sand the fence and make any repairs necessary before you get started with staining your fence. You will also need to budget for fence staining and plan for the associated costs.
A sprayer will speed up the process of staining your fence significantly. You should, however, consider the risks of drips or spraying things you did not mean to and how that can increase the difficulty of the overall project before you decide on a sprayer just because it is quicker for applying the stain.
 Fence Maintenance and Repair
 Fence Maintenance and Repair
 Fence Maintenance and Repair